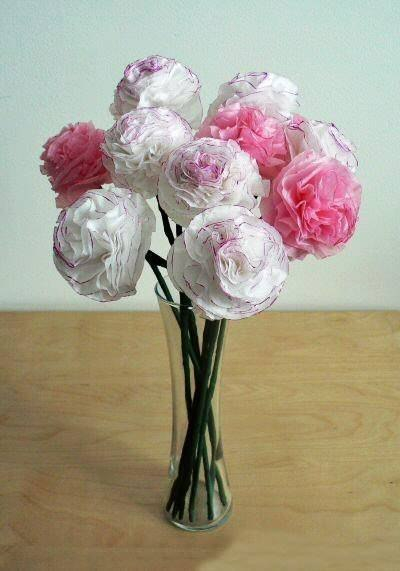
DIY Beautiful Tissue Paper Flowers
Paper flowers look just like natural flowers but last longer and won’t wilt or droop. That’s why they are very popular decoration for home, parties, weddings and many other occasions. Here is a nice DIY project to make beautiful tissue paper flowers. They are fun and easy to make. I like the way to apply colors on the petals by simply coloring the edges of the stacks of tissue paper. What a creative idea! You can use different colors of tissue paper to make them. Use them to dress up wreaths, garland, gift boxes, baskets, curtain rods, flower vase and much more. In addition, you can enjoy this easy craft with your kids. Happy crafting!
What you need:
- Tissue paper of various colors;
- Pencil;
- A round object such as a CD or bottle cap;
- Binder clip;
- Marker;
- Scissors;
- Chenille stems or plastic stems.
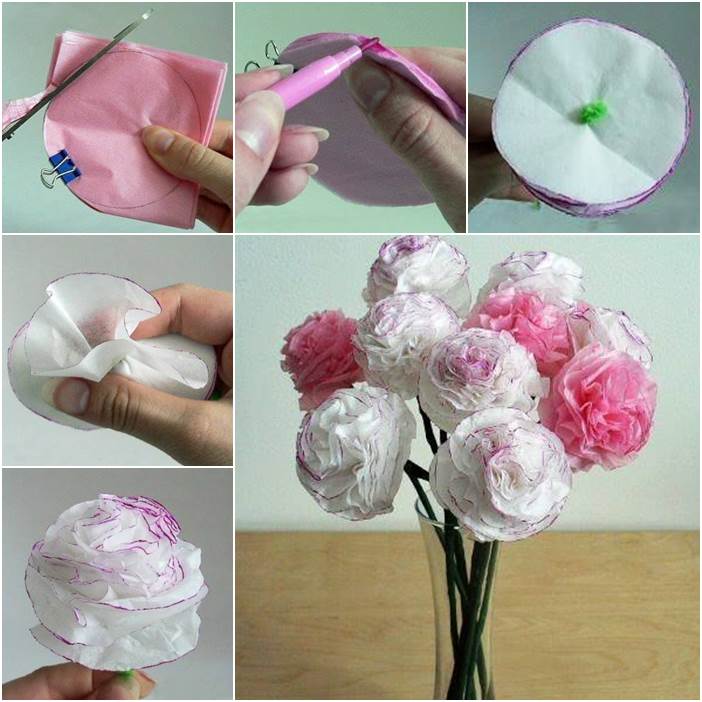
How to do:
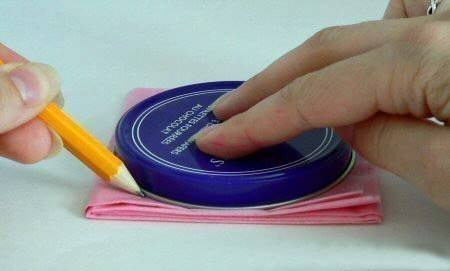
1. Fold the tissue paper and use a round object to draw a circle on it.
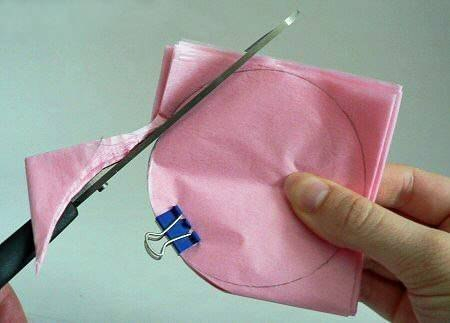
2. Use a binder clip to secure the tissue paper and cut out the circle.
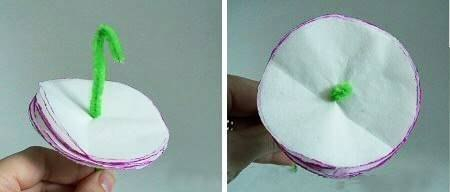
3. Use a marker to color the edge of the layers of tissue paper.

4. Insert a chenille stem or plastic stem through the center of the circles.
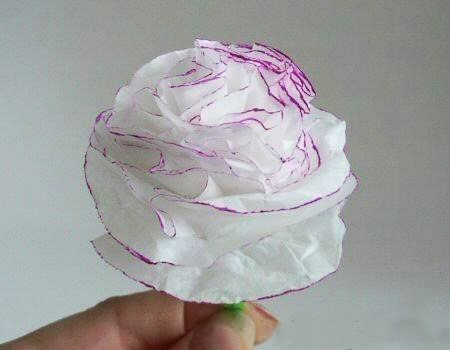
5. Adjust the first layer of tissue paper to form the petal by rolling, folding and curling, etc.

6. Continue to manipulate other layers of tissue paper and adjust the petals to form a flower.
7. Make more flowers with different colors of tissue paper and marker. Place the bouquet in a vase and enjoy!